Getting Started with Skima
(In any of the steps if you need any guidance, click on “View documentation” to get detailed documented guidance for any step or feature. You can also click on “Request Demo” to get our team contact you with the demo guide)
Step 1: Onboarding Basic Information - Test
Before diving into recruitment, Skima AI gathers some essential details to understand your needs better and tailor our platform for you.
This step helps Skima AI understand your business needs, so it can tailor its recommendations and recruitment automation. It will help you get: AI-personalised job & candidate matches, Improved efficiency in hiring workflow, A structured database of your hiring needs.
Required Information: afjbqeofbq
- Organisation Name
- Team Size
- Which Industry you belong/cater to
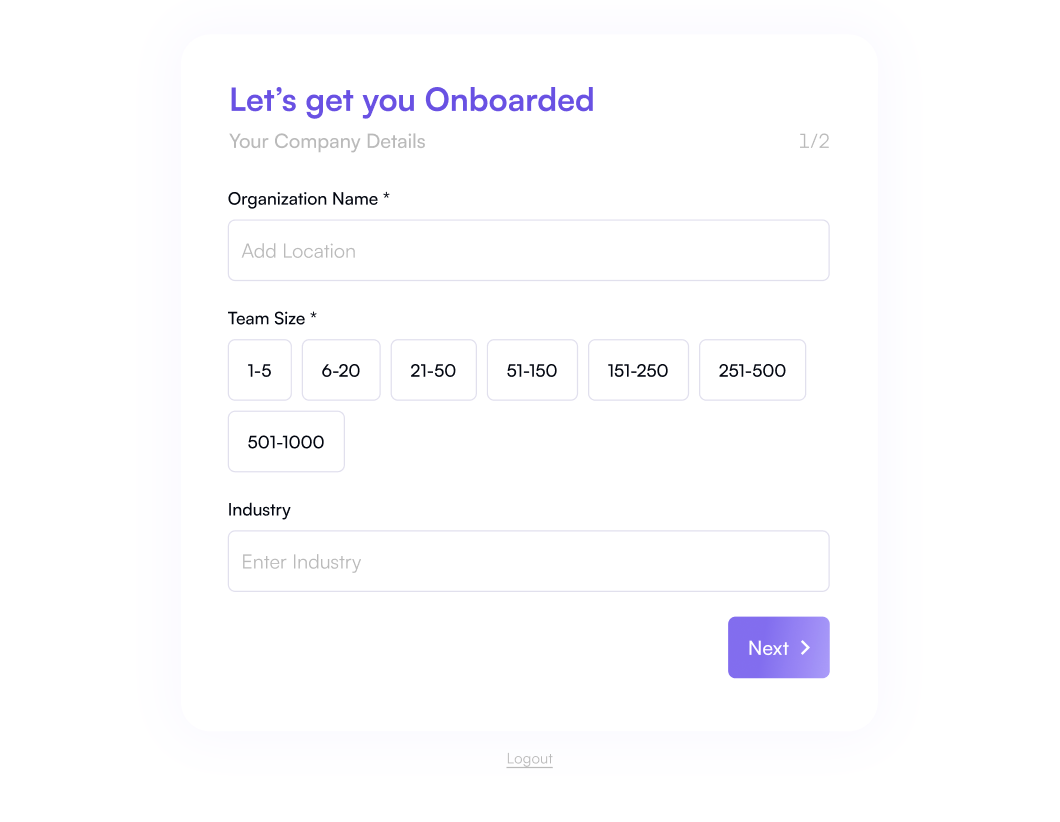
Once you fill up the required information, click “Next” to get started with Onboarding.
Once logged in, you’ll see the AI-powered search bar at the Onboarding page
Step 2: Using the AI Search Bar
The AI search bar is your gateway to discovering top talent in seconds. Enter a query, and Skima AI will refine results based on your needs. We can tailor accordingly to provide you Instant AI-powered candidate suggestions, Custom-tailored search results and Faster hiring process!
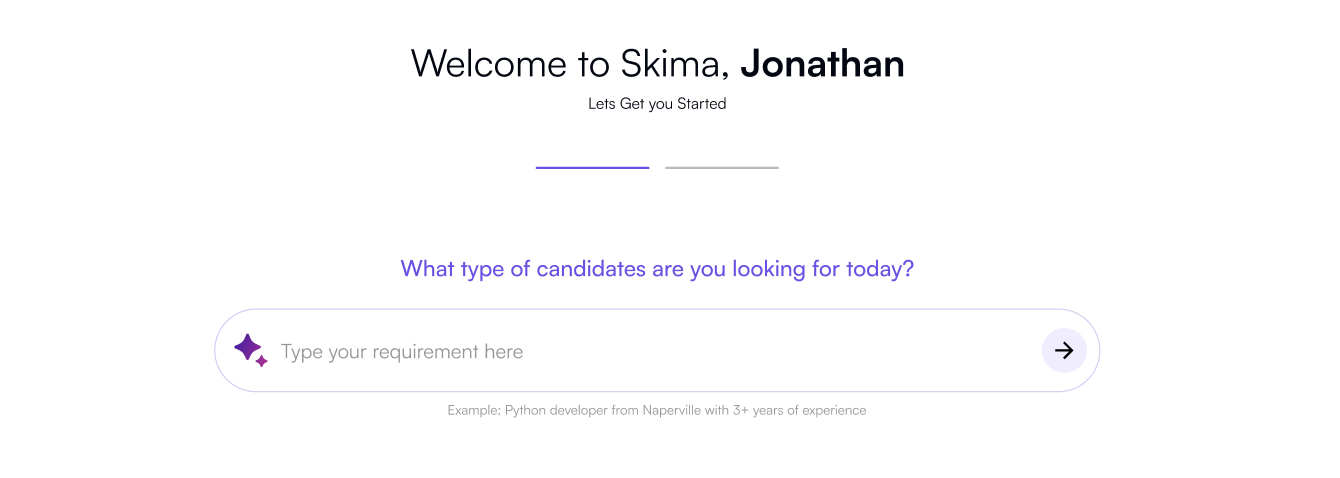
2.1 How to Use the AI Search Bar
-
In the search bar, type in your requirement.
Example: “Product Manager jobs in Mumbai with 5+ years of experience.”
-
Hit Enter or click “➡️” to proceed.
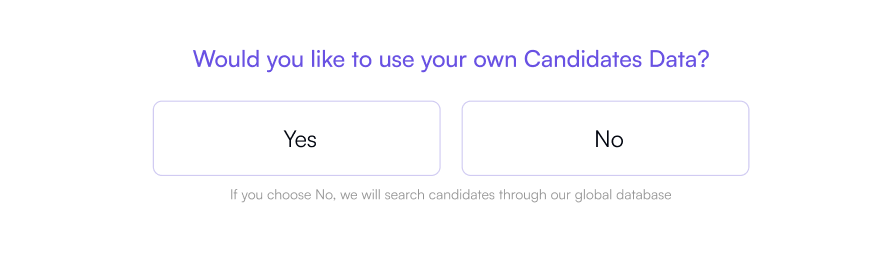
2.2 AI-Driven Customisation
Skima AI refines results by asking clarifying questions. Answer to get tailored search suggestions!
- Skima AI will analyse your input and prompt a few clarifying questions to tailor your needs.
- Answer these questions to refine search results and get precise suggestions to our solutions.
Step 3: Let's Get Started – Building Your Candidate Pool
Now that your account is set up, let’s add candidates to your database. You can do this in three ways:
A well-structured candidate pool helps streamline hiring and makes it easy to find the right talent when needed.
We help you with, Centralised candidate database, Faster recruitment process, Better candidate organisation.
💡 Add candidates using any of these options:
- Integrate ATS (Applicant Tracking System) – Choose your ATS provider (Greenhouse, Lever, Workday, etc.)
- Upload Candidates Manually – Select files (CSV, XLSX, PDFs)
- Sync with Cloud Storage – Connect Google Drive, Dropbox, or OneDrive\

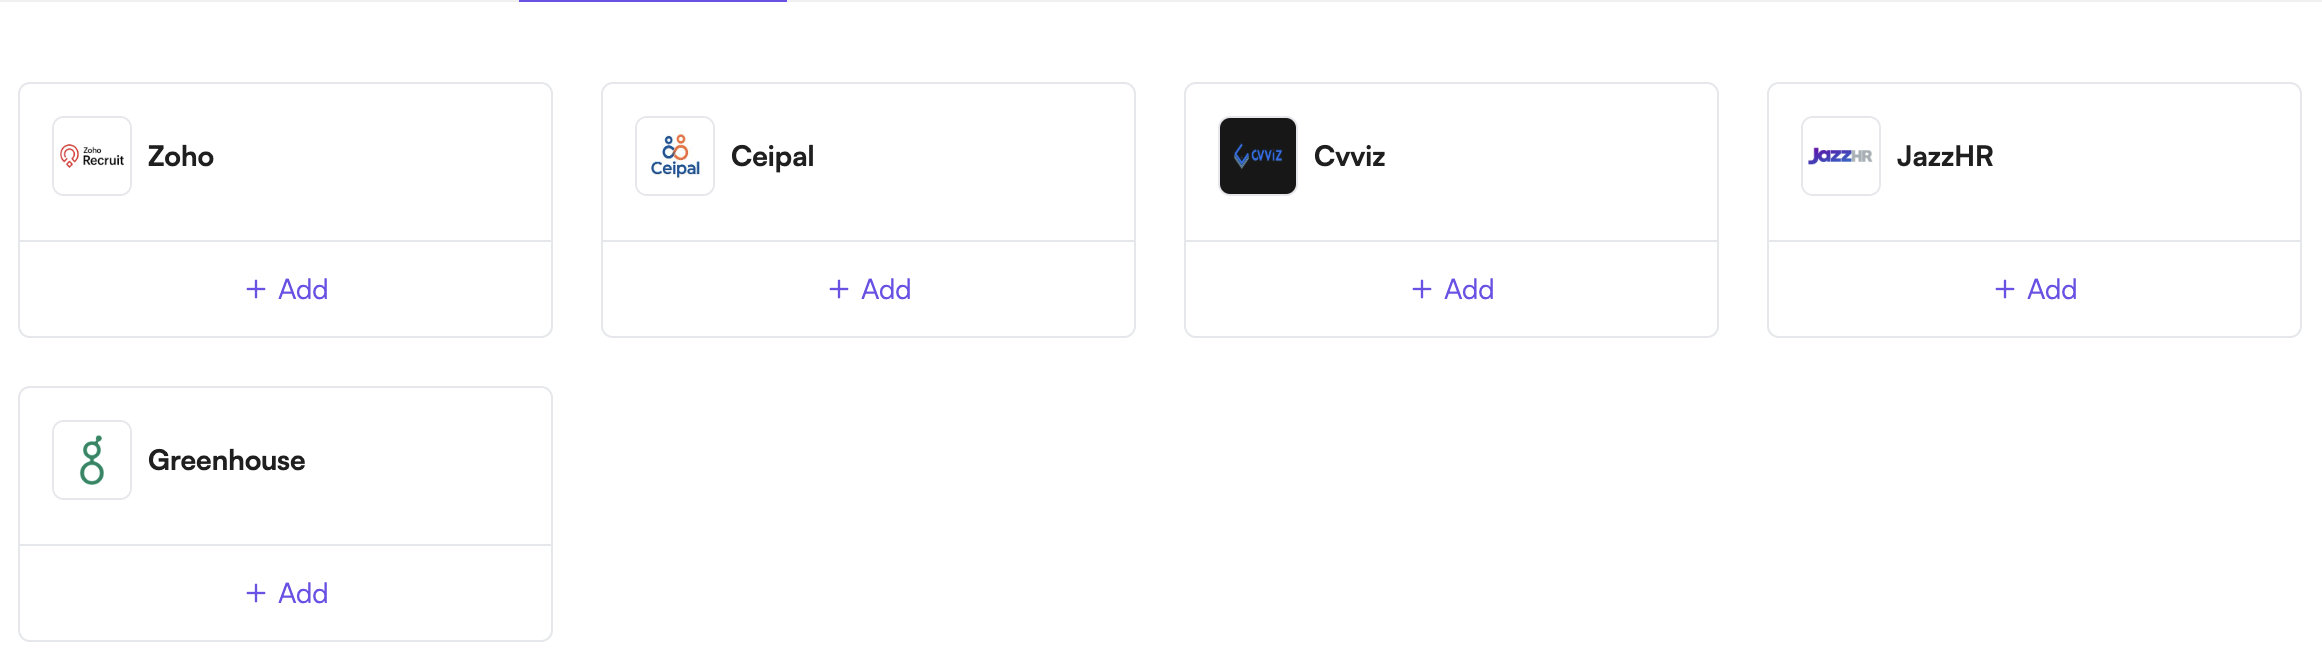
3.1 Option 1: Integrate ATS
If you already use an ATS (like Greenhouse, Lever, or Workday), integrate it with Skima AI:
- Click “Integrate” and choose your provider
- Follow the steps to authenticate the connection and allow data import
Select your ATS provider you want to integrate, click on “Add”
You will see the pop-up to let Skima.ai access Candidates, Jobs, Applications data from your ATS provider.
Once you provide us access we get:
→ Candidates data: Name, Age, Experience Details, Education Details, Date of Birth
→ Job data: Title, Description, Work Authorisation, Responsibilities, Requirements
→ Applications data: Status, Description
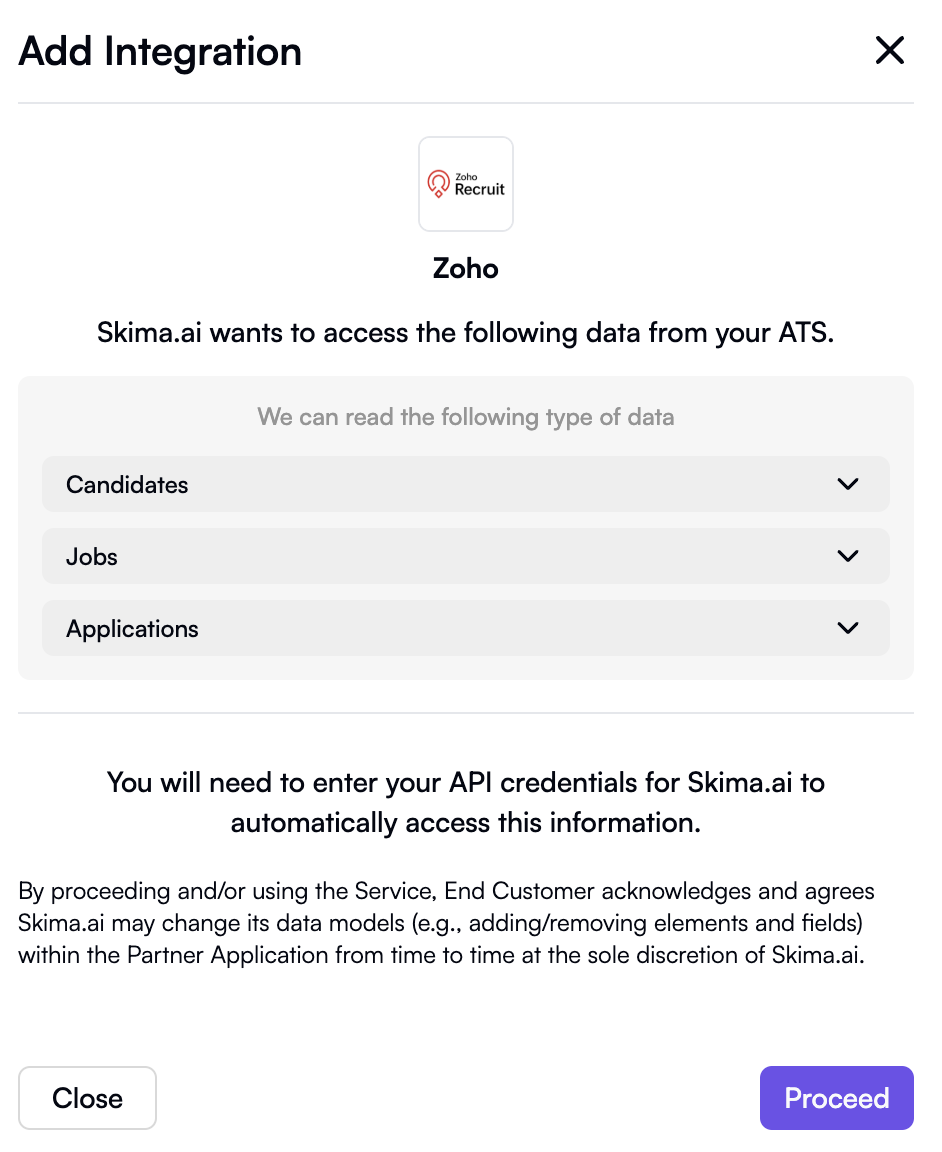
You need to enter the API credentials for Skima.ai to automatically access the required data. - Add the integration accessing the required data from your ATS and click on “Proceed”
- To add the integration, follow the steps mentioned and enter the Auth Key, click on “Verify and Submit”
- You have successfully uploaded your Candidate pool, you can move on with the next step.
3.2 Option 2: Upload Candidates Manually
If you have resumes stored in files, you can manually upload them:
- Click “Upload Now” and select files from your computer.
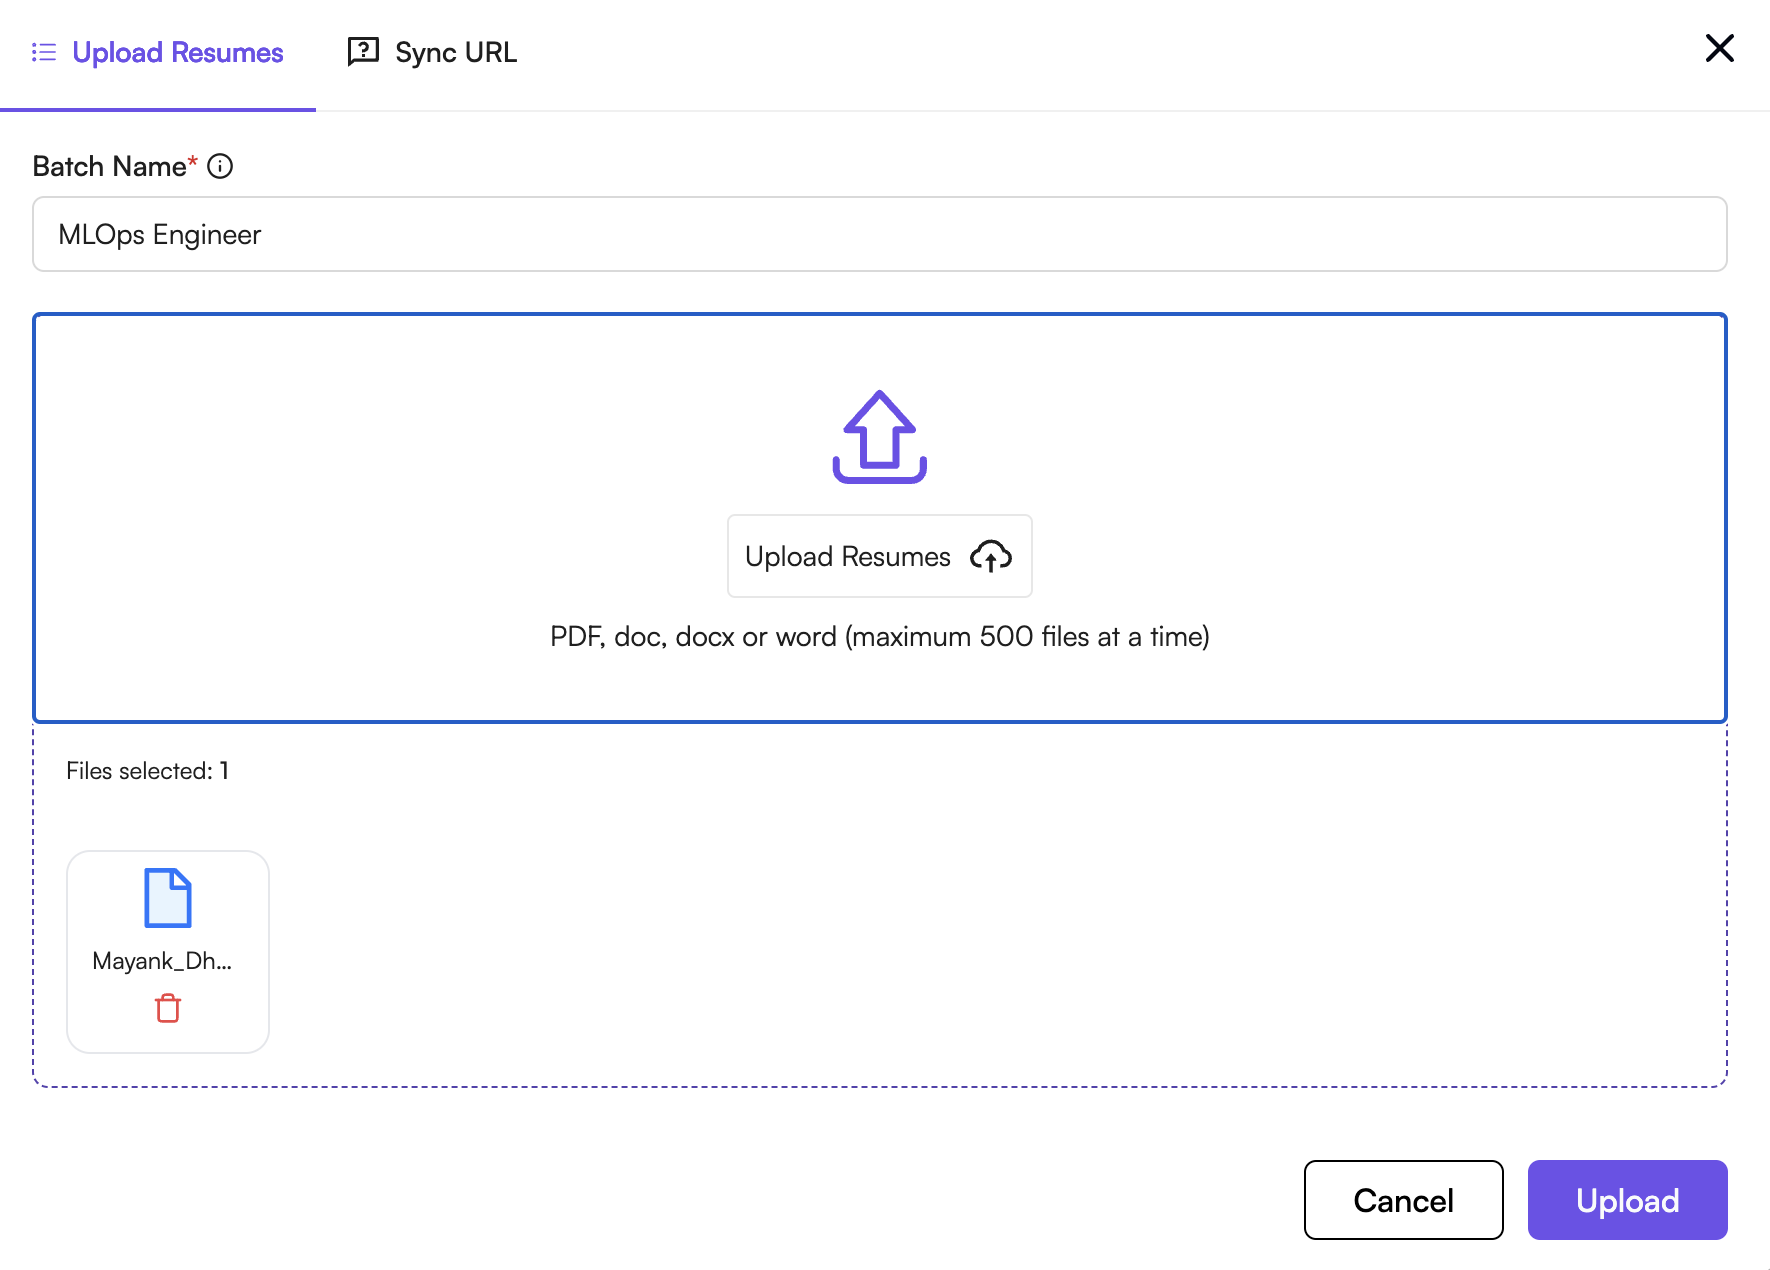
- Supported file formats: CSV, XLSX, PDF resumes.
- Review and confirm the upload, click on “Upload”
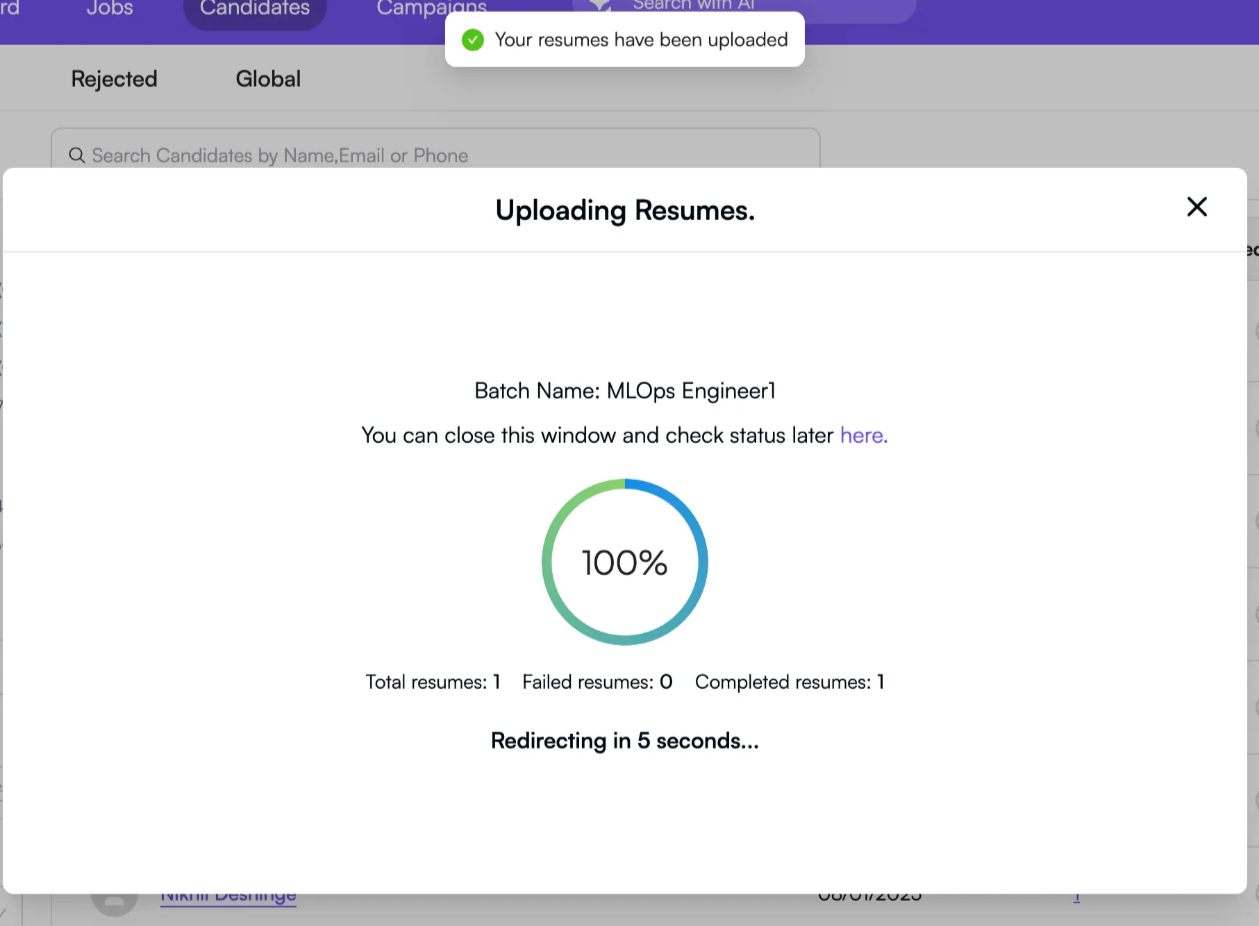
- To check upload details, go to “👤Profile” on top right of dashboard’s navigation, click on “Uploads” and check the Upload batches

- You can obtain upload details like *Batch name, Uploaded date, Successful *and failed uploads, Status and also view the details of each uploaded file from URL.
- You have successfully uploaded your Candidate pool, you can move on with the next step.
3.3 Option 3: Sync with Cloud Storage
If your candidate data is stored in cloud platforms like Google Drive, Dropbox, or OneDrive:
- Click “Sync Now” to import candidates, we will fetch the uploaded resumes to create pool
- Choose the cloud platform and log in to cloud platform from your account, eg. Google Drive, Dropbox
- Select folders containing candidate resumes from your respective cloud platform
- Manage access of your folder from the cloud platform to “Anyone with the link”
-
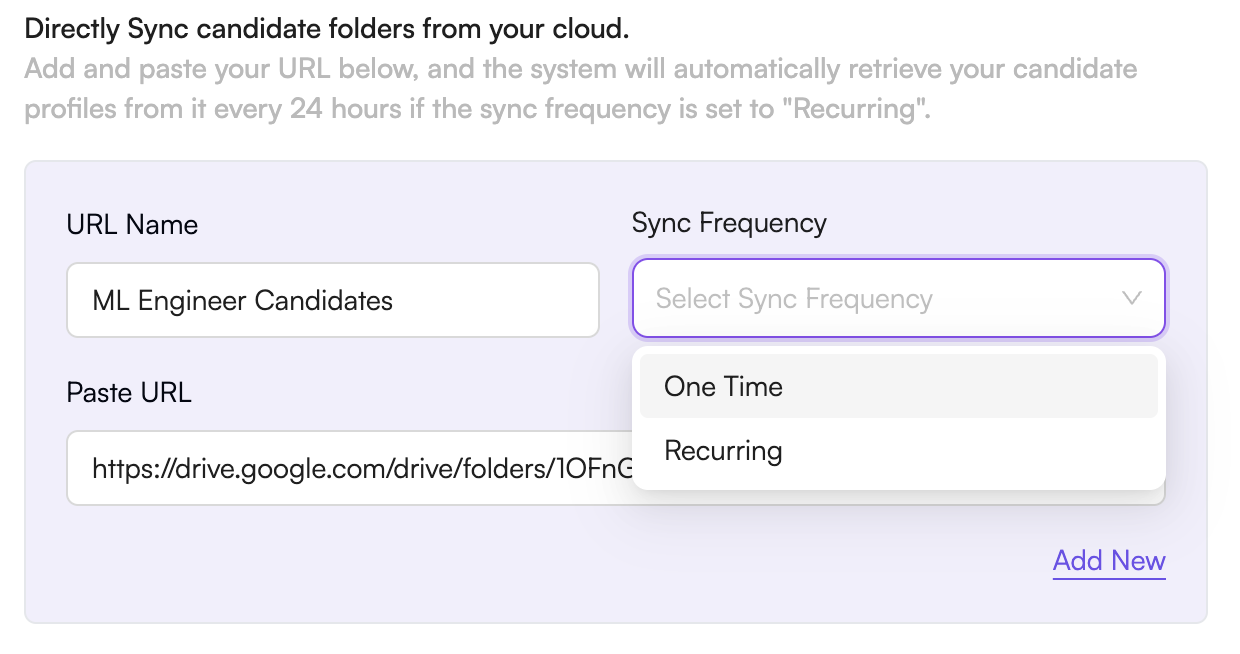
- Copy the URL link of the folder and paste it into the “Paste URL” box in integration
- Create the “URL Name” eg. ML Engineer Candidates, and Sync Frequency
→ One Time Sync Frequency: Retrieves candidate data from URL one time without recurrence
→ Recurring Sync Frequency: Retrieves candidate profiles from URL every 24 hours
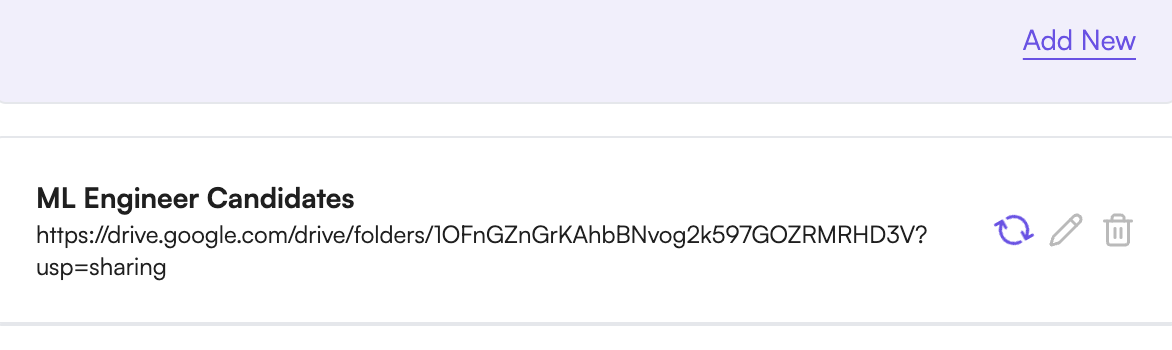 \
\ - You can add multiple URL and multiple folders of candidate profiles by clicking on “Add New” and doing the same process again.
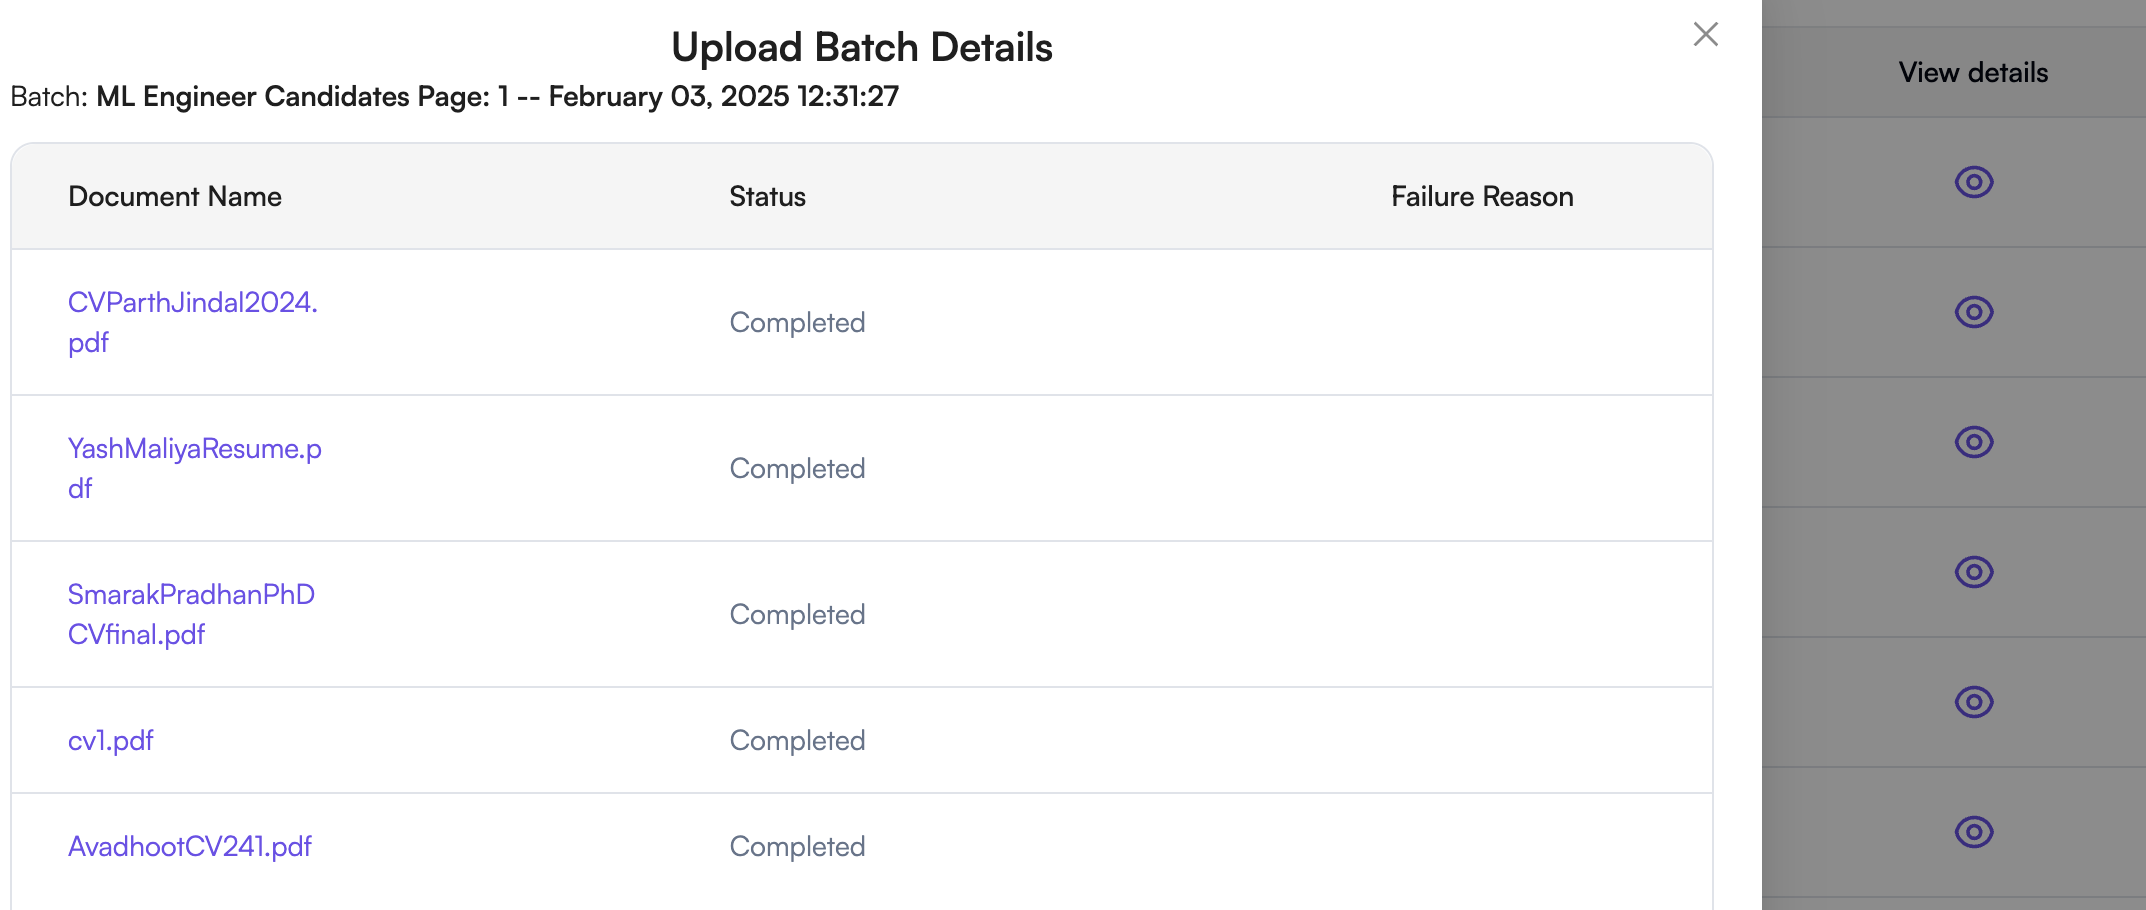
- To check upload details, go to “ 👤Profile” on top right of dashboard’s navigation, click on “Uploads” and check the Upload batches

- You can obtain upload details like Batch name, Uploaded date, *Successful *and failed uploads, Status and also view the details of each uploaded file from URL.
- You have successfully uploaded your Candidate pool, you can move on with the next step.
\
Step 4: Try AI-Powered Search & Shortlisting
Use Skima’s AI search to find what your requirements suits best quickly. This is for you to try out our AI search feature for your requirement
AI-powered search helps you filter the best candidates quickly, saving you time and effort in recruitment.
How will it help you: AI-driven shortlisting, Optimised hiring workflow, Precision-matched candidates
4.1 Access AI-Assisted Search
- Click on “Search with AI” in the main menu.
- Enter your requirement (job title, skills, experience, or location) in the search bar.
- Hit Enter or click “➡️” to proceed.
Step 5: Automate Communication
Skima** allows** you to send bulk emails, schedule follow-ups, and engage candidates effortlessly.
Benefits:
- Automated follow-ups & bulk emails
- AI-personalized messaging
- Higher response rates
5.1 Create a Campaign
- Click “Create Campaign” for automating personalized outreach using AI.
- Choose to start from scratch or use an existing template.
- Configure campaign settings and target audience.
- Click “Submit” to start the campaign.
Step 6: Upgrade to Premium (Optional)
Upgrading unlocks premium AI tools, higher limits, and priority support to boost your hiring process.
Benefits:
- Advanced AI Matching
- Priority Support
- Higher Candidate Limits
- Click “Upgrade” in the dashboard.
- Select your preferred plan and complete the payment.